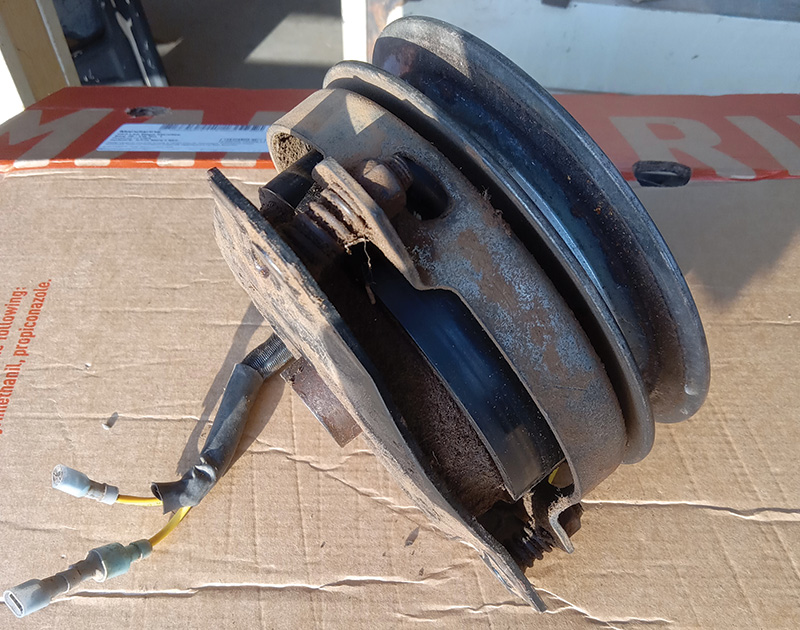
A failed diode was not diagnosed, so this good PTO clutch was removed and replaced in a costly and time-eating mistake. Photos courtesy of Scott R. Nesbitt
When an electric power take-off clutch stops working or gets erratic, fault may lie in a little diode that’s built into the clutch wiring harness.
When you pull the PTO switch, you connect the clutch to the battery. The switch may control the negative (-) or positive (+) wiring to the copper wire coil inside the clutch. Turn off the current, and here is what happens, according to https://iAsk.AI:
"When the magnetic field of an electric clutch collapses, it generates a voltage spike known as a flyback voltage or counter-electromotive force (EMF). This voltage is produced as a result of the stored energy in the magnetic field being released back
into the system … (in) an electric clutch … operated with a 12V DC power supply, the flyback voltage can reach several hundred volts … This can cause damage to electronic components if not properly managed."
The diode is usually a small cylinder about ¼-inch long and 1⁄8-inch diameter. It’s usually soldered into one of the wires feeding the clutch. It lets direct current flow in only one direction, blocking flyback current. When damaged,
the diode might short, letting current flow either way. It could open up, blocking any current flow. It could melt internally and act as a resistor. Ruination can be caused by excess current, excess heat or mechanical damage.
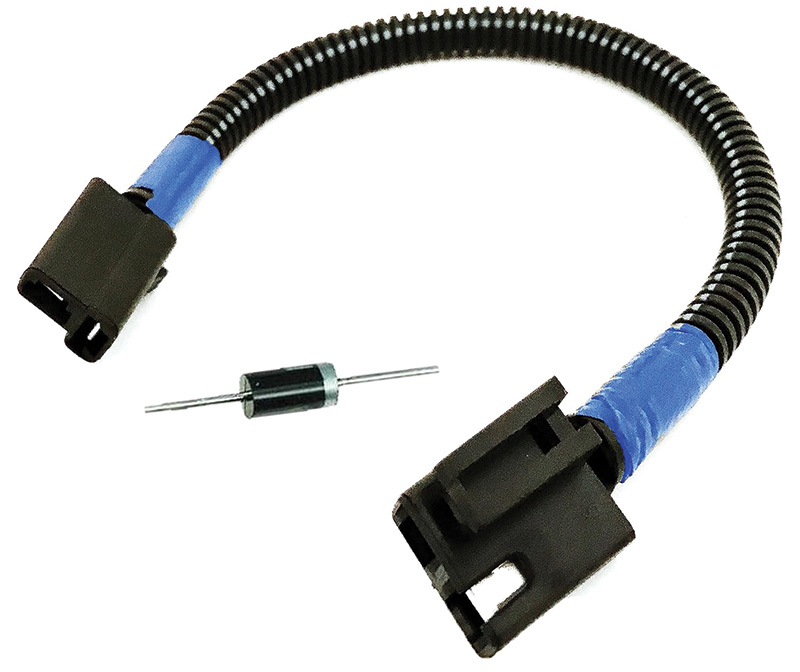
A replacement PTO clutch wire harness (or “pigtail”) might have a built-in diode or might come with a diode that must be installed. Wire plugs and connectors might also have to be changed. A common diode used in turf equipment carries the industry code of P6KE62CA, described as a 600-watt transient voltage suppressor.
Test the clutch diode by first disconnecting the battery and finding both ends of the wires that feed the clutch. Set a multimeter to the diode symbol and connect the leads to the wires. Then reverse the connection. Your meter should indicate that
one of the wires shows current flowing in one direction, no current in the other. You can also use the meter’s continuity squealer functions. With the meter’s ohm setting, check the clutch’s internal resistance.
Typically, this is 2 to 4 ohms. Above or below that range, there’s probably an internal problem. With a fused test lead, apply 12 volts to the clutch for at least a few minutes. See if it gets hot or disconnects itself.
Before spending the big bucks and labor to replace an electric clutch, it’s worth a little test time and maybe getting a new wiring harness for $10-$30 at Amazon, eBay, other online sources or at your equipment distributor.
Happy troubleshooting.
Scott R. Nesbitt is a freelance writer and former GCSAA staff member. He lives in Cleveland, Ga.